
Northeast Sardinia packs an unusual amount of variety into a small area — the marina glamour of Costa Smeralda, the open-water beauty of the La Maddalena Archipelago, the family-friendly beaches of San Teodoro, and the limestone cliffs of Tavolara, all within roughly an hour of the central Olbia area by car. Five days is enough to experience the principal highlights at a comfortable but active pace, provided you plan the logistics sensibly. This itinerary lays out a realistic day-by-day plan, a practical base recommendation, and a backup plan for the two boat-dependent days, so you’re not caught out by wind or sea conditions.
Choosing a Base: Olbia, Cannigione, Palau or San Teodoro?
Where you base yourself shapes this entire trip, so it’s worth working through the tradeoffs honestly rather than defaulting to whichever town sounds prettiest.
Olbia is the most balanced logistical base for this particular five-day loop — not the most attractive or uniformly central town to stay in, but the one that keeps every leg of this itinerary within a reasonable drive. As a rough guide: Olbia to San Teodoro runs approximately 30–40 minutes, Olbia to Porto Cervo approximately 35–55 minutes, and Olbia to Palau (for the La Maddalena ferry) approximately 45–60 minutes, all varying with your exact starting point and summer traffic. Olbia itself is a working town rather than a resort, but it puts you within reach of everything on this itinerary without a single very long transfer.
Cannigione, closer to both Porto Cervo and Palau, is a genuinely appealing alternative if you’d rather stay somewhere more scenic and don’t mind one longer driving day — the tradeoff is that Cannigione to San Teodoro is generally around an hour or longer, which matters on the day(s) you’re headed that way.
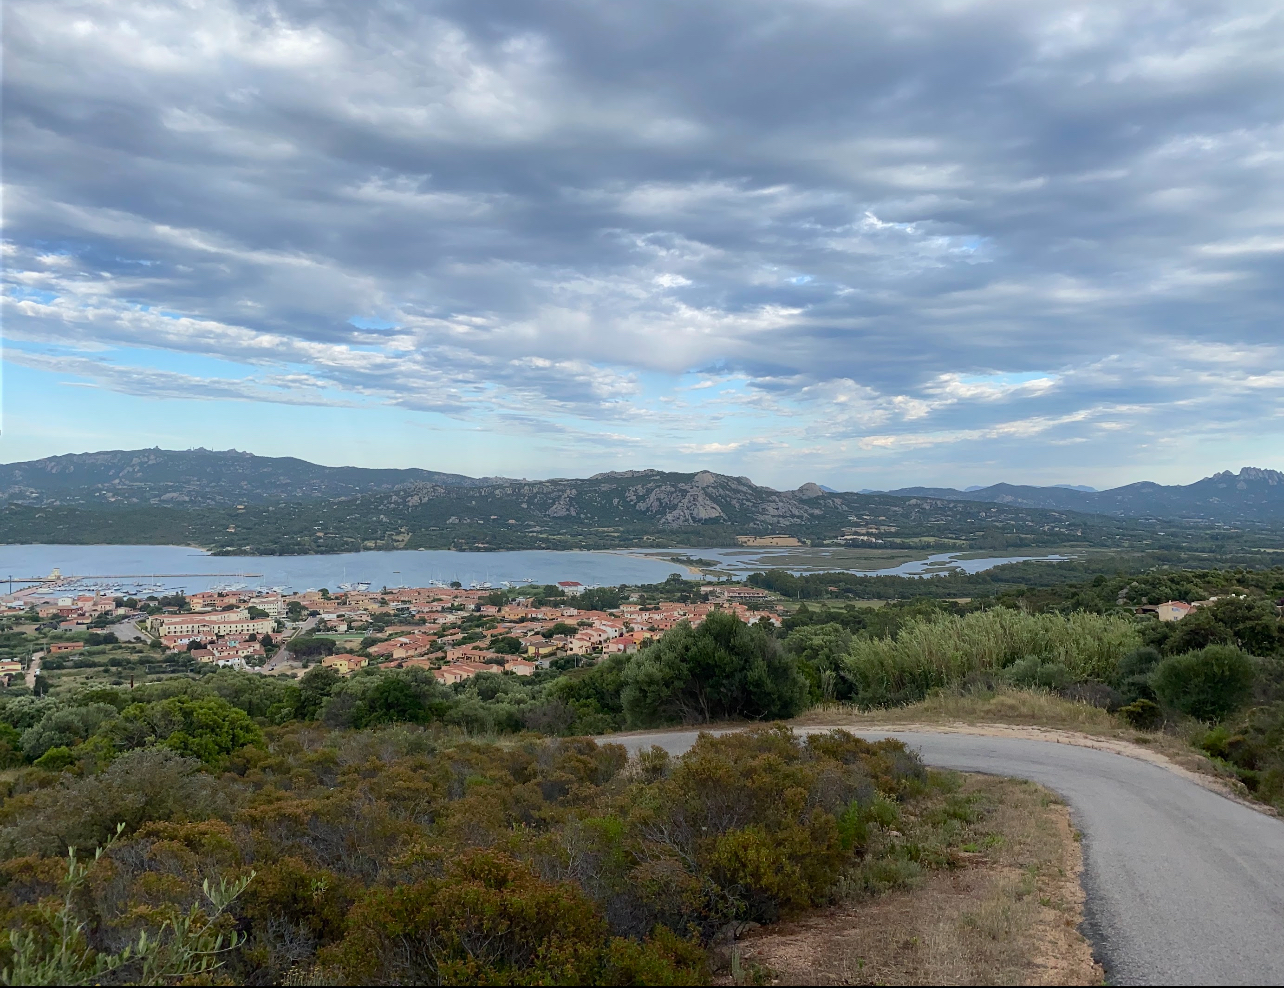
Palau makes sense if La Maddalena is your clear priority and you’re willing to treat Costa Smeralda and San Teodoro as longer day trips from there. San Teodoro works well if beach time matters most to you, with Costa Smeralda and Palau both becoming a bit of a haul — San Teodoro to Palau is over an hour each way, which is significant if you’re doing it more than once.
For most first-time visitors trying to cover this full loop in five days, Olbia (or Cannigione, accepting the tradeoff above) as a base for Nights 1–2, followed by a move to San Teodoro for Nights 3–4, offers the best balance — see the split-stay alternative below.
Do You Need a Rental Car?
Yes, practically speaking. This itinerary moves between several distinct areas — Costa Smeralda, the La Maddalena ferry port at Palau, and San Teodoro — that aren’t well connected to each other by public transport; the regional bus network and each town’s local shuttle services are built to move people within one area, not efficiently between all three. A rental car is the realistic way to cover this route in five days without losing hours to transfers and waiting.
It is possible to do a version of this trip car-free, but it means accepting a heavier reliance on a single base, organized day tours or transfers for the legs public transport doesn’t cover well, and less flexibility to shift the boat days around with the weather — which, as covered below, matters more than it might seem.
The Itinerary
Day 1: Arrival and Settling In
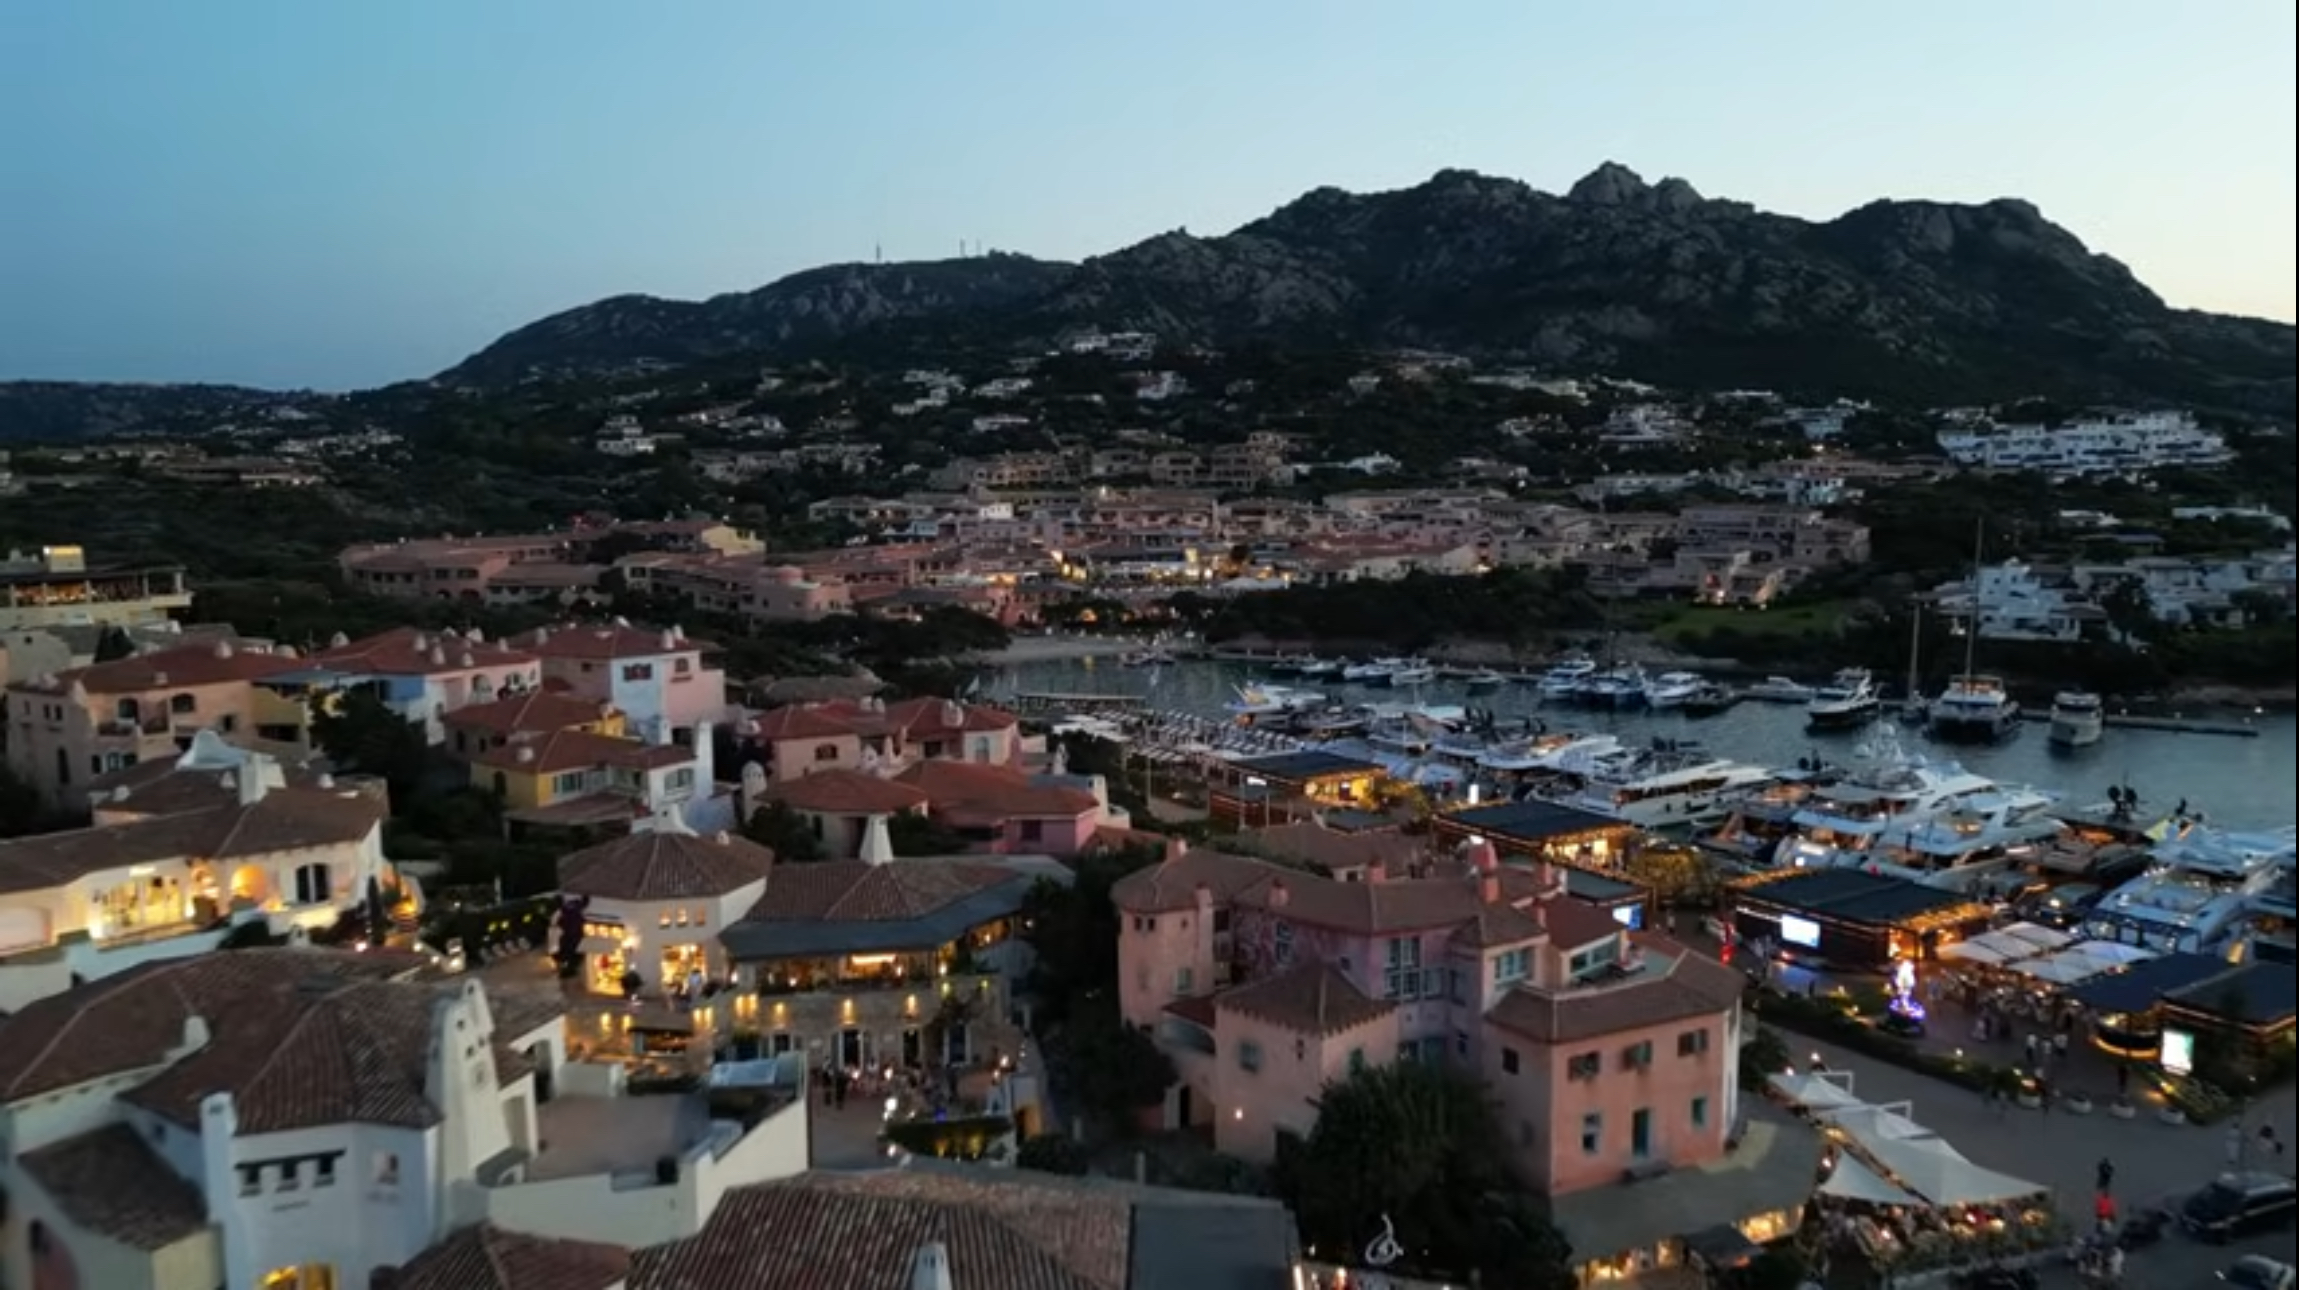
Spend the first day arriving and getting oriented rather than packing in sightseeing — flight schedules and rental car pickup vary too much to plan tightly. If you land early and have the afternoon free, a first visit to Porto Cervo is a good soft introduction to the area: walk the marina, get a first look at the village’s distinctive architecture, and have dinner there before heading back to your base. If you arrive later in the day, skip Porto Cervo for now and have an easy evening in Olbia instead — a walk through the old town and dinner near Corso Umberto works just as well, and you’ll have another chance to see Porto Cervo later in the trip if you want to return.
Day 2: La Maddalena Archipelago (Full Day)
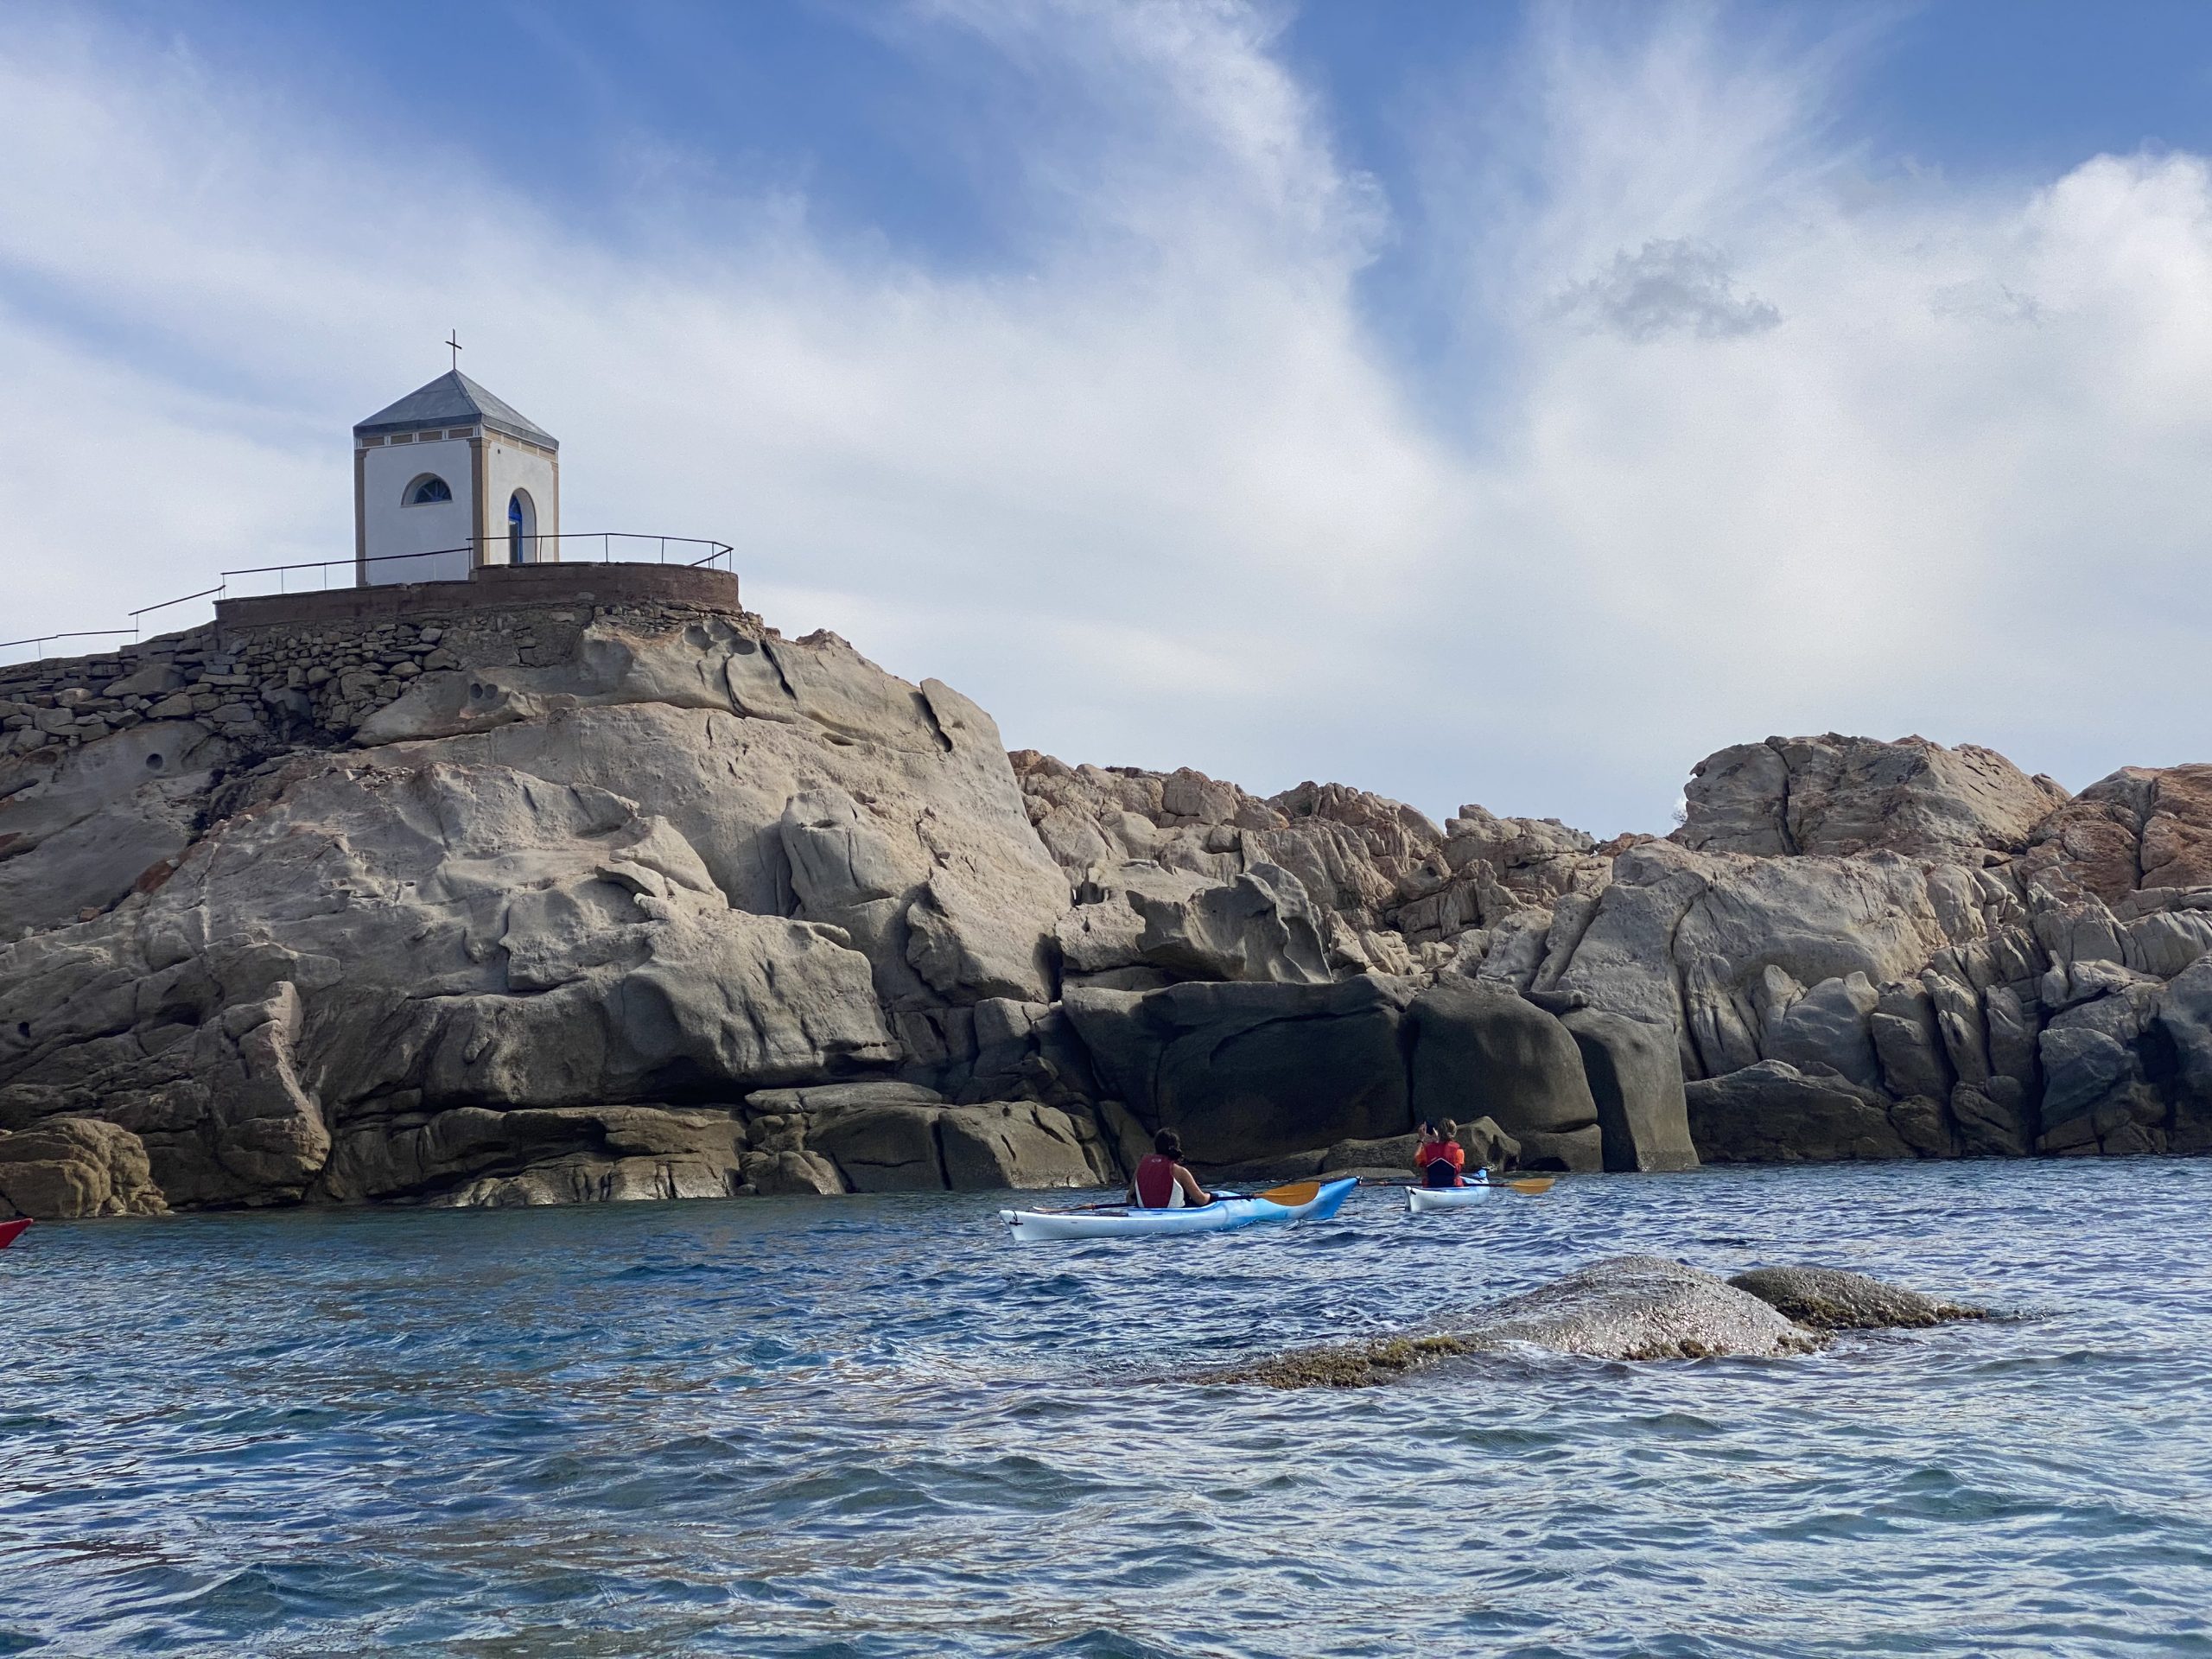
La Maddalena deserves a dedicated full day rather than a rushed half-day add-on. There are two distinct ways to spend it, and it’s worth picking one rather than trying to combine them: an independent day using the regular ferry from Palau, exploring La Maddalena town and Caprera at your own pace by bus, bike, or rental car; or an organized boat excursion around the wider archipelago, typically covering more remote beaches and coves than you’d reach independently. Trying to fit the ferry crossing, Caprera, and a full boat excursion into one day isn’t realistic — choose the version that matches what you want from the day. Our La Maddalena Archipelago guide covers both options, the ferry logistics, and the beaches worth prioritizing, so we won’t repeat that detail here.
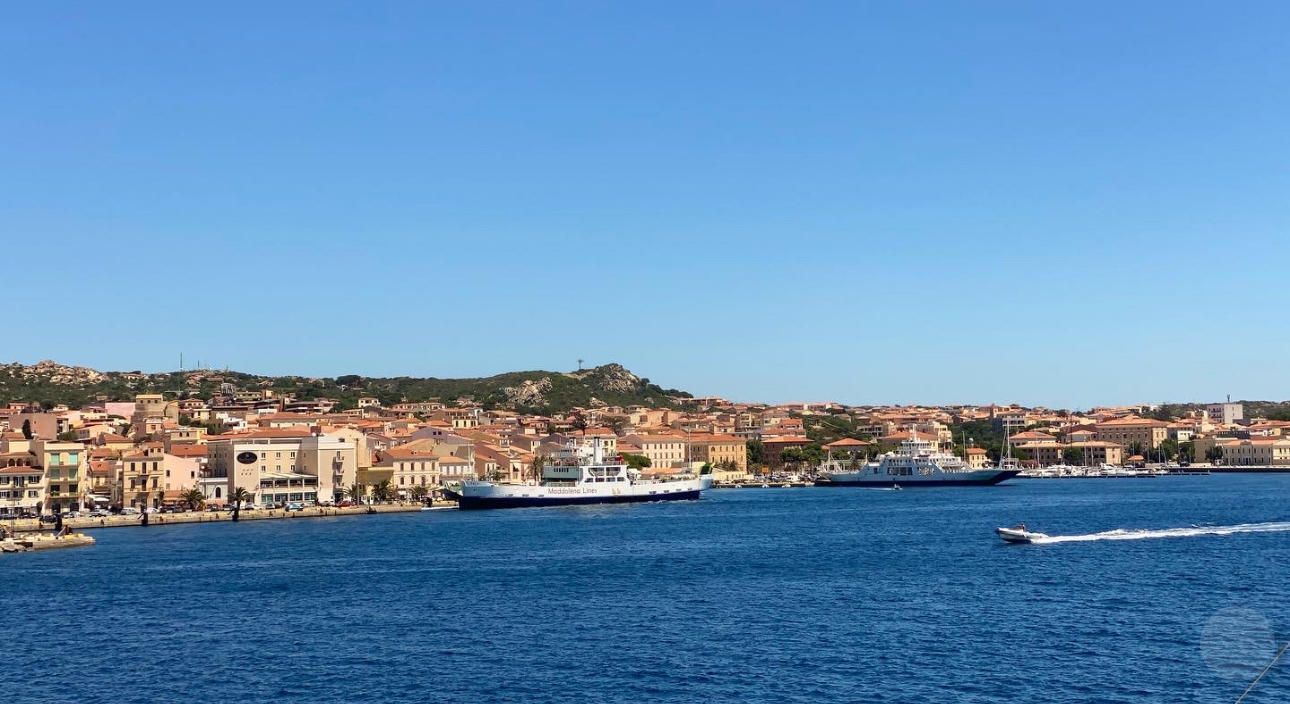
One thing worth flagging up front: this is a weather-dependent day, though not equally for both options. Ordinary ferry crossings are generally more resilient to wind and sea conditions, while organized boat excursions — which often visit more exposed stretches of water — are more likely to be rerouted or cancelled in poor weather. Hold this day loosely rather than treating it as fixed — more on that below.
Day 3: A Costa Smeralda Beach Day, Then Relocate to San Teodoro
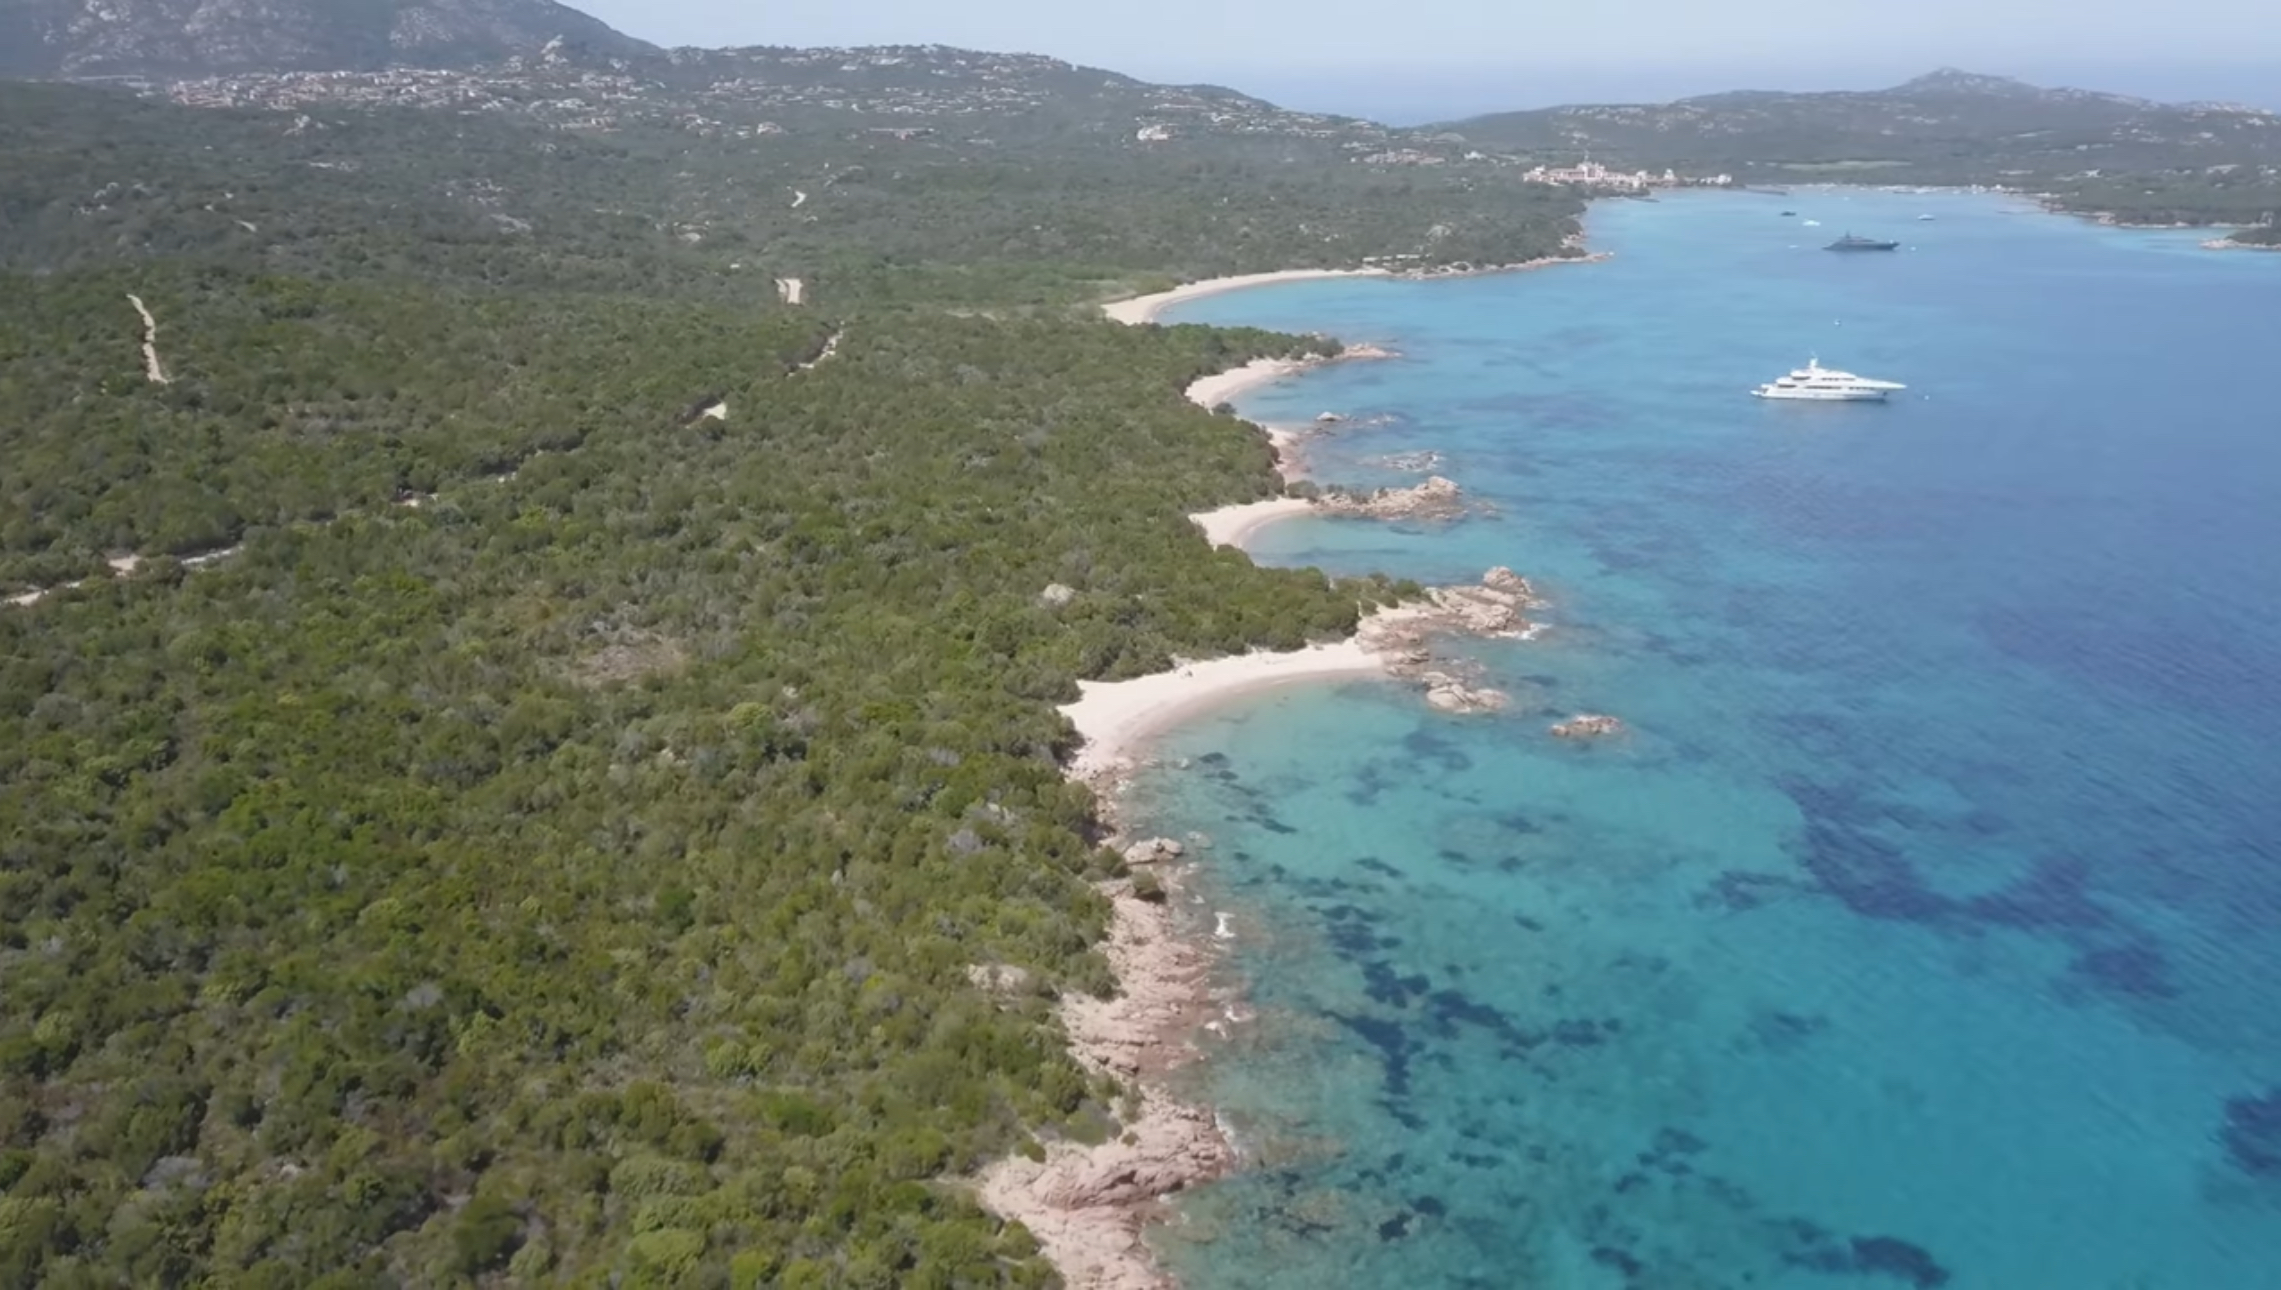
Rather than trying to see several Costa Smeralda beaches in one day, pick one as your main destination and treat a second as a backup or late-afternoon option if the first feels crowded or the wind isn’t cooperating. Liscia Ruja is a solid principal choice — a long, easy stretch of sand that suits a full relaxed beach day — with Capriccioli as a reasonable alternative if conditions favor one over the other. Our Best Beaches of Costa Smeralda guide covers the full comparison if you want to choose differently based on your own priorities — wind exposure, parking, or atmosphere.
Keep the day loose enough that you could swap it with Day 2 if the marine forecast makes more sense for the La Maddalena crossing instead — see the note on flexible days below. Once you’ve had your beach time, this is the day to make the move: drive on to San Teodoro in the afternoon or early evening and settle into your new base there for the second half of the trip.
Day 4: San Teodoro and Its Beaches
Head to San Teodoro for a beach day with a different character than Costa Smeralda — La Cinta is the easiest option, free and open without a reservation system, while Cala Brandinchi or Lu Impostu are worth the trip if you’re comfortable planning around their reservation requirement. Keep in mind that reserving your entry to Cala Brandinchi or Lu Impostu is a separate step from parking — the two aren’t bundled together — so plan for both if you’re headed there. Our San Teodoro guide covers the current reservation process, transport options, and the differences between the beaches in full.
Day 5: Tavolara — or the Local Weather Backup
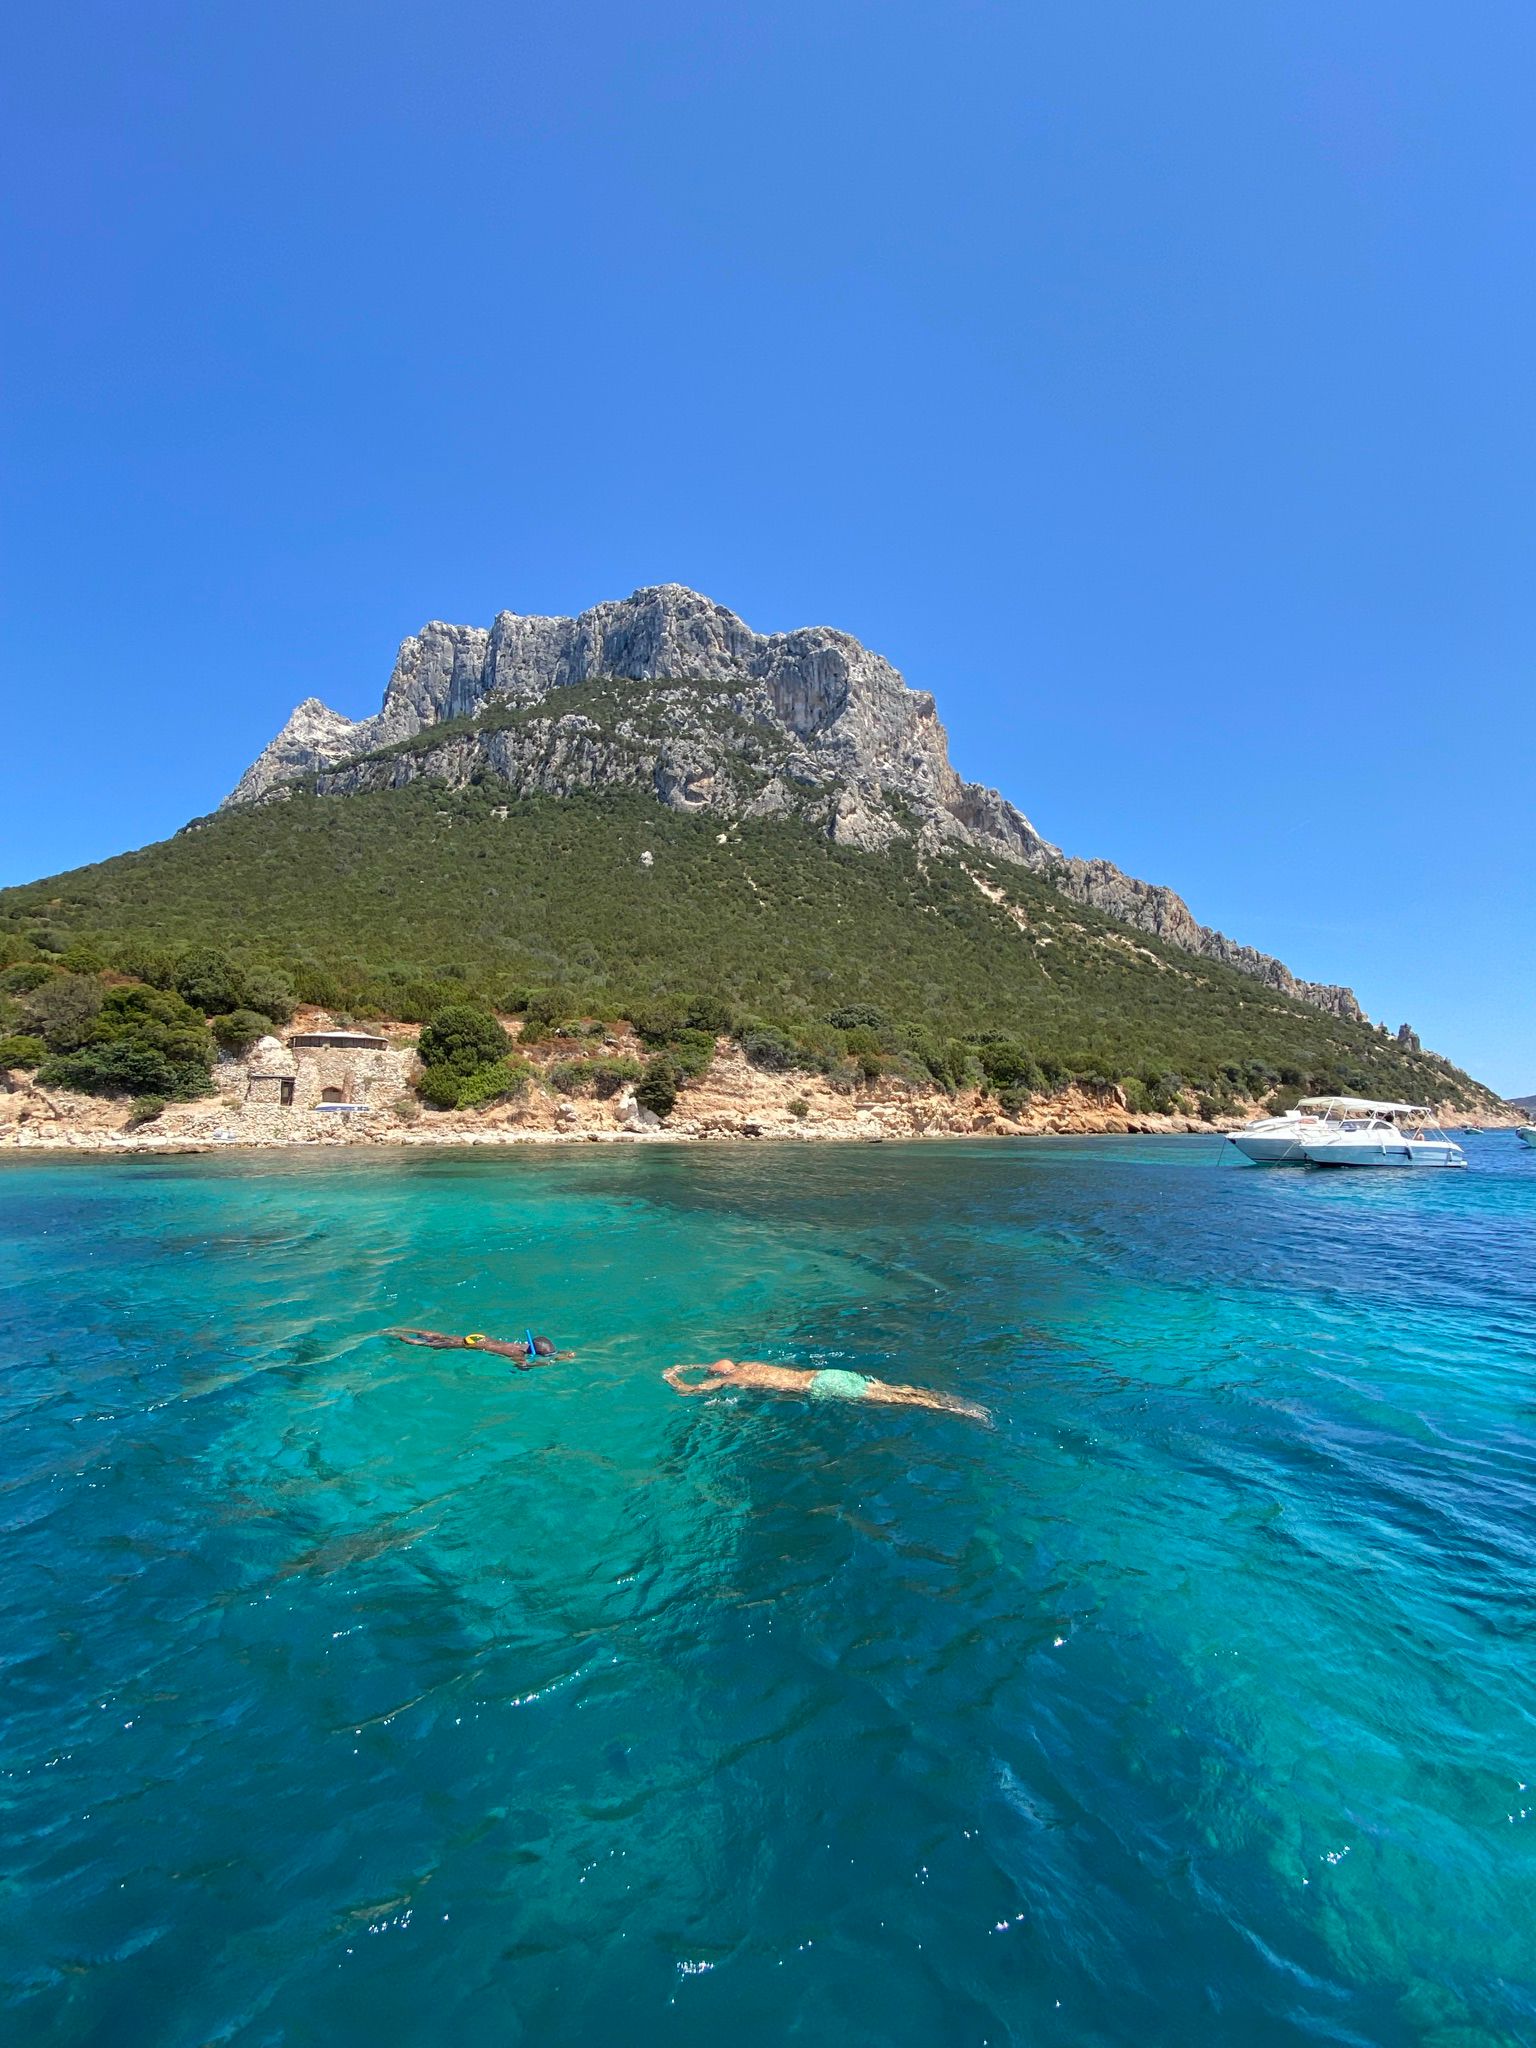
The final day is built around a Tavolara boat excursion, departing mainly from Porto San Paolo near San Teodoro. Like La Maddalena, this is a weather-dependent trip — it’s worth treating Day 4 and Day 5 as a flexible pair, so if the forecast favors an extra beach day over a boat trip, or vice versa, you can shift between them without disrupting the rest of the plan. Building in that flexibility from the start avoids the disappointment of a fixed boat day landing on a bad-weather forecast.
If the Tavolara trip isn’t possible due to wind or sea conditions, don’t treat the trip as derailed — a solid backup plan is a wander through San Teodoro’s town center or simply an extra beach day at La Cinta or wherever you enjoyed most on Day 4. In peak season it’s worth reserving your boat excursion ahead of time rather than hoping for last-minute availability, but check the operator’s cancellation or rescheduling policy before booking, since wind and sea conditions can change before departure.
Split-Stay Alternative
This is a five-day, four-night itinerary, and a single base for all four nights is simpler — but a split stay materially improves this particular route: Nights 1–2 around Olbia or Cannigione, covering Days 1–2 (arrival and La Maddalena), followed by a move to San Teodoro for Nights 3–4 after the Costa Smeralda beach day on Day 3, covering Days 4–5. Ordering the trip this way means you’re never checking out before a full-day boat excursion, leaving luggage sitting in a vehicle all day, or driving to San Teodoro late in the evening after a long day on the water — the relocation happens after a straightforward beach day instead. The one added cost is the logistics of checking out and relocating mid-trip, which is a fair trade for most travelers given the driving times involved.
Adverse Weather: The Backup Plan
Both La Maddalena and Tavolara involve open-water crossings, and both can be affected by wind and sea conditions regardless of the season — but they depart from opposite ends of this route, so it isn’t practical to freely swap one for the other once you’ve relocated to San Teodoro. Instead, think of the itinerary as having two flexible pairs. Days 2 and 3 are the flexible northern pair: La Maddalena versus the Costa Smeralda beach day — whichever has better marine conditions gets the boat crossing, and the other becomes the beach day. Days 4 and 5 are the flexible southern pair: San Teodoro’s beaches versus the Tavolara excursion — again, let the forecast decide which day gets the boat trip. If a boat day in either pair doesn’t work out, the itinerary still holds together as a beach-and-town trip; you’ll simply trade that excursion for more time at whichever beach you enjoyed most nearby.
Making the Most of Five Days
This itinerary works best when it’s treated as a framework rather than a fixed schedule — the driving times and weather-dependent boat days mean Days 2 and 3 can flex against each other, and Days 4 and 5 can flex against each other, depending on conditions and how you’re feeling each morning. What matters most is picking a base that keeps your driving reasonable, giving La Maddalena the full day it deserves, and staying flexible within each pair of days about which one gets the boat trip. For the wider region and the rest of this content cluster, see our Costa Smeralda & Northeast hub, and for a deeper look at any single stop, our Costa Smeralda guide, Porto Cervo guide, La Maddalena Archipelago guide and San Teodoro guide each go into far more detail than fits in a single itinerary.